Are you seeking to unlock the full potential of your Raspberry Pi, accessing and controlling it from anywhere on the globe? Secure Shell (SSH) is your gateway to this capability, transforming your Raspberry Pi into a remotely manageable powerhouse.
The Raspberry Pi, a marvel of miniaturization and versatility, has captivated hobbyists, educators, and professionals alike. Its compact size, affordability, and adaptability make it an ideal platform for a wide array of projects, from home automation and media centers to robotics and data logging. However, to truly leverage the Raspberry Pi's capabilities, the ability to remotely access and control it is paramount. This is where SSH comes into play, offering a secure and efficient means of interaction.
Imagine the possibilities: monitoring your home security system from a remote location, managing your server's performance while on the go, or troubleshooting a project without physical access to the device. With SSH, these scenarios become not just feasible, but remarkably straightforward. This article will delve into the intricacies of SSH, providing a comprehensive guide to setting up and utilizing this powerful tool.
SSH, or Secure Shell, is a cryptographic network protocol that allows for secure remote access to a computer or server. It provides a secure channel for command-line access, enabling you to execute commands, transfer files, and manage your Raspberry Pi from a remote location. SSH ensures that all communication between your computer and the Raspberry Pi is encrypted, safeguarding your data from eavesdropping and unauthorized access. This is crucial, especially when exposing your Raspberry Pi to the open internet.
While SSH provides command-line access, it's important to remember that it primarily interacts with the underlying Linux operating system of the Raspberry Pi. If you require full graphical desktop environment access, you'll need to explore options such as Virtual Network Computing (VNC). However, for many tasks, SSH is the preferred method due to its efficiency and security. It allows you to interact with the operating system, manage files, install software, and monitor system performance, all from the comfort of your own computer.
The core concept behind SSH is relatively simple. Your computer, acting as the "client," establishes a secure connection with the Raspberry Pi, acting as the "server." This connection is established using a specific port, typically port 22, and the SSH protocol encrypts all data transmitted between the two devices. This ensures that any commands you send, or any data you receive, is protected from prying eyes. This security is particularly important when connecting over the internet, where your device is exposed to a larger pool of potential threats.
Before diving into the configuration, let's briefly consider alternative access methods. While SSH is the focus here, it's worth mentioning options like VNC, which allows for full graphical desktop access, or services like RealVNC's cloud VNC viewer and Raspberry Pi Connect. Each method has its strengths and weaknesses. VNC is excellent for graphical applications, while SSH is more efficient for command-line tasks. External services offer ease of use but may come with potential privacy concerns. Raspberry Pi Connect offers a convenient and free screen sharing service. The choice depends on your specific needs and preferences.
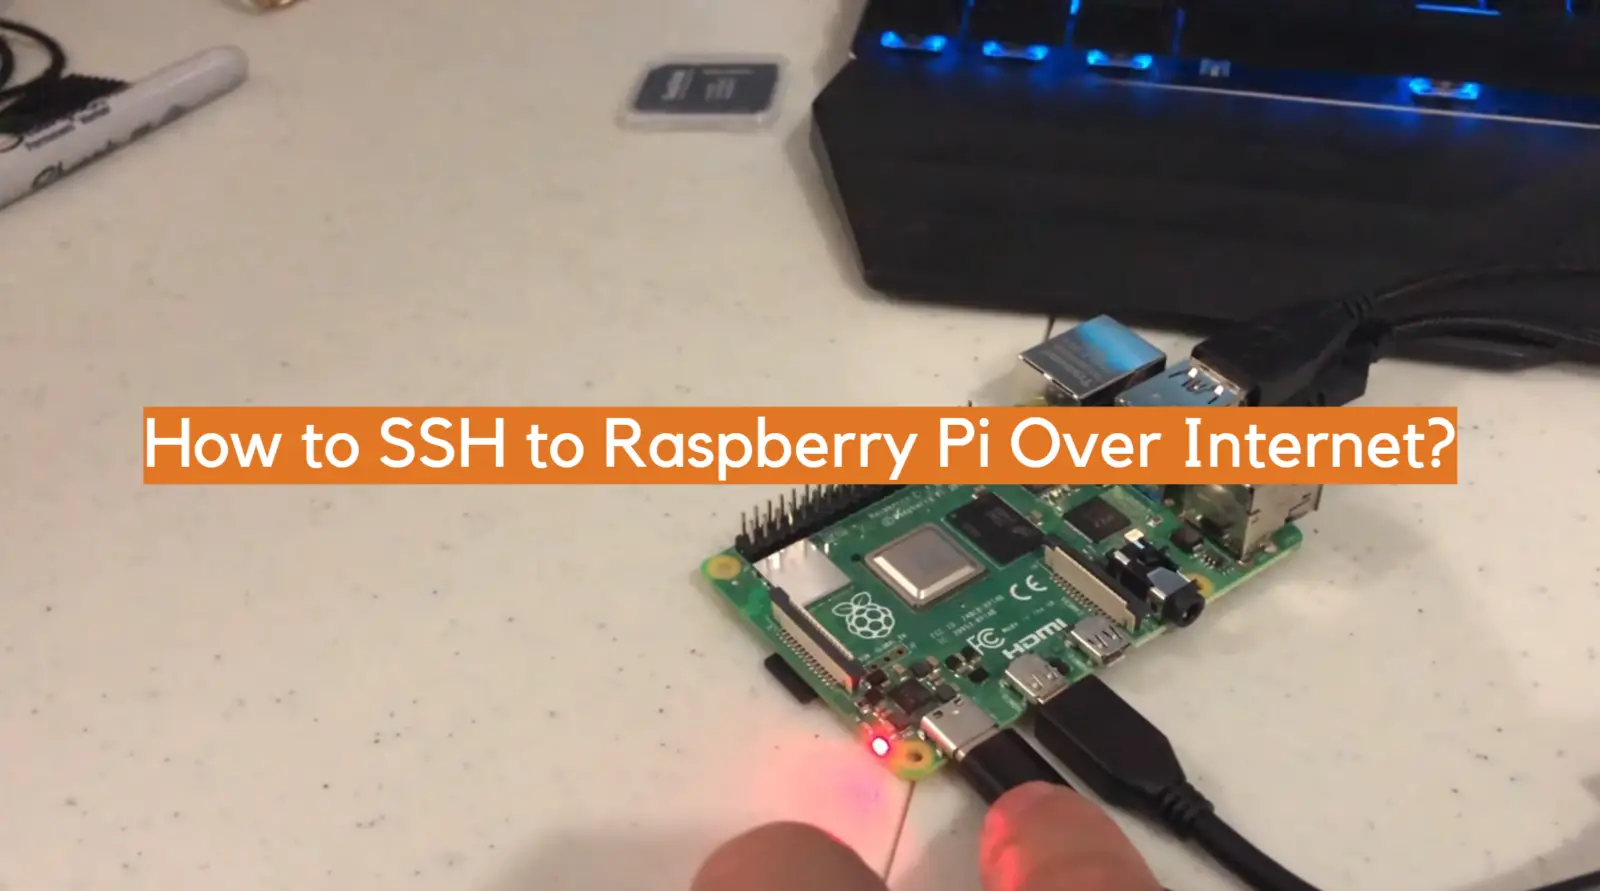
Now, let's delve into the practical steps of setting up SSH access to your Raspberry Pi. The process involves enabling the SSH service on your Raspberry Pi, identifying its IP address, and then using an SSH client on your computer to establish the connection. We will also explore methods for accessing your Raspberry Pi over the internet, addressing security considerations, and discussing advanced configurations.
The fundamental steps involve enabling the SSH server, which is typically disabled by default for security reasons. Next, you need to determine the IP address of your Raspberry Pi, which acts as its unique identifier on the network. Finally, you use an SSH client on your computer to connect to the Pi, providing the username and IP address, and then authenticating with your password. Let's break this down step-by-step to make the process clear and concise.
The ability to connect to your Raspberry Pi from anywhere in the world is an enticing prospect. Imagine the convenience of managing your home server while on vacation, or troubleshooting a project from across town. While SSH access is generally straightforward on a local network, accessing it over the internet requires a few additional steps and considerations. You'll need to configure your router to forward traffic to your Raspberry Pi and potentially use a dynamic DNS service to handle a changing IP address. We will cover these essential details later, when we discuss internet access.
For those using a Raspberry Pi in a remote field, such as for data collection or environmental monitoring, the setup becomes particularly interesting. In such scenarios, considerations like using a 500ft ethernet cable become important. The process also brings in considerations of setting up an access point, and securing your Pi from unauthorized access. The beauty of the Raspberry Pi lies in its adaptability, as it can be configured in numerous configurations. Our guide will take you step-by-step through all the necessary steps for your project.
For more information, let's delve into a table to outline the key things you need to know when you are working on SSH.
| Feature | Description | Important Considerations |
|---|---|---|
| Enabling SSH Service | The SSH service is typically disabled by default. You'll need to enable it through the Raspberry Pi configuration or the command line. | Ensure your Raspberry Pi is connected to a network. You'll need to know its IP address. |
| Finding the IP Address | The IP address is the unique identifier of your Raspberry Pi on the network. You can find it using tools like `ifconfig` or by checking your router's connected devices. | The IP address can be dynamic (changing) or static (fixed). Static is usually recommended for SSH access. |
| SSH Client | An SSH client is a program on your computer that allows you to connect to the Raspberry Pi. Popular clients include PuTTY (Windows), the terminal (Linux/macOS), and others. | Make sure your SSH client is correctly configured with the Raspberry Pi's IP address and your username. |
| Connecting Over the Internet | To connect over the internet, you'll need to configure port forwarding on your router. You may also need a dynamic DNS service. | Security is paramount. Use strong passwords and consider implementing additional security measures. |
| Security Best Practices | Always use strong passwords. Consider disabling password-based authentication and using SSH keys instead. Keep your Raspberry Pi's software updated. | Regularly review your security settings. Be aware of potential vulnerabilities. |
| VNC vs. SSH | VNC provides graphical desktop access, while SSH provides command-line access. Choose the method that best suits your needs. | SSH is generally more efficient for command-line tasks. VNC is better for graphical applications. |
Connecting to your Raspberry Pi via SSH is a straightforward process, particularly when you are on the same local network. It begins with identifying the IP address of your Raspberry Pi. This address serves as its unique identifier within your network, analogous to a street address for a house. You can find this address in several ways, the easiest being to check your router's administration panel, where connected devices are listed. Alternatively, you can use the `ifconfig` command in the terminal of your Raspberry Pi.
Once you have your Pi's IP address, the next step is to use an SSH client on your computer. Numerous SSH clients are available for different operating systems. On Linux and macOS, the terminal itself serves as a built-in SSH client. On Windows, a popular choice is PuTTY, a free and versatile program designed for SSH connections. You will enter the SSH command `ssh pi@`, replacing `` with the actual IP address you found previously, when connecting from the terminal on a Linux or MacOS machine.
Once you have logged into your Raspberry Pi through SSH, a whole new world of possibilities opens. You can access various online services and applications. You can access the Raspbian OS by running the command. You can now manage files, install software, execute commands, and control your Raspberry Pi remotely. The key is the secure and efficient remote management of your device from any location. It's a transformative tool.
To further enhance security, consider using SSH keys instead of passwords for authentication. SSH keys are cryptographic keys that are more secure than passwords. They consist of a private key (which you keep secret) and a public key (which you place on the Raspberry Pi). When you connect, the SSH client uses your private key to authenticate with the server, which verifies it against the public key. This method eliminates the need to enter a password each time you connect and is more resistant to brute-force attacks.
Now, let's address the scenario of connecting to your Raspberry Pi over the internet. This introduces additional complexities. You will first need to configure port forwarding on your router. Port forwarding allows external traffic on a specific port (usually port 22 for SSH) to be directed to your Raspberry Pi's internal IP address. This tells your router where to send the incoming connection requests from the internet. You will then need to deal with your router's external IP address, and the fact that the IP address is often dynamically assigned.
The world of remote Raspberry Pi management is vast and offers numerous possibilities. Whether you are a seasoned professional, a passionate hobbyist, or someone new to electronics, understanding SSH and its proper application is crucial for unlocking your Raspberry Pi's potential. Remember to prioritize security, explore various configuration options, and adapt to your specific needs, and you will harness the full power of remote access.
To illustrate a practical example, consider a scenario where you have two computers, "Computer A" and "Computer B," connected to the same local network. You want to access "Computer A" (the Raspberry Pi) from "Computer B" via SSH over the internet. This is akin to how remote desktop software like AnyDesk or TeamViewer functions.
To reiterate, using SSH over the open internet introduces security risks. Always use strong passwords. Disable password-based authentication and use SSH keys instead. Keep your Raspberry Pi's software updated. And, if possible, consider using a VPN or a more secure service like Tailscale for remote access. Remember that playing with a Raspberry Pi can be a lot of fun, but security must always be a priority.
As a beginner, the first steps might seem daunting. However, the reward is a newfound level of control and the ability to use your Raspberry Pi in innovative and exciting ways. Embrace the learning process, experiment with different configurations, and enjoy the journey of remote Raspberry Pi management.
Now, let's move forward, to the more technical side of the setup.
Configuring your router for port forwarding is the essential first step to accessing your Raspberry Pi over the internet. This involves accessing your router's configuration interface, which typically can be accessed through a web browser by entering your router's IP address in the address bar. Once logged in, navigate to the port forwarding settings, which might be found under "Advanced Settings," "Firewall," or similar sections.
Within the port forwarding settings, you'll need to create a new rule that forwards traffic on port 22 (the standard SSH port) to your Raspberry Pi's internal IP address. You might be required to specify the protocol (TCP), the internal and external ports (usually the same), and the Raspberry Pi's internal IP address. Ensure you save your settings after configuring port forwarding. The exact steps will vary based on your router model. Refer to your router's manual if you need help.
Because IP addresses assigned to your home network are usually dynamic, the next step is to set up a Dynamic DNS (DDNS) service. Dynamic DNS services provide a static hostname that automatically updates to reflect your router's changing IP address. This means, instead of remembering a changing IP address, you can always use the same hostname to connect to your Raspberry Pi, regardless of your IP address. This is usually done through a third-party provider.
Using a 500ft ethernet cable provides a reliable and efficient way to establish a wired network connection. For instance, if you are setting up your Raspberry Pi in a remote field, using an ethernet cable can be a simple, effective solution. This eliminates the uncertainties of wireless connections, such as interference and coverage issues. This is often more straightforward and reliable. Always consider the potential need for a switch, and ensure your setup meets any relevant local regulations or safety standards.
One final tip is always to keep your Raspberry Pi's software up to date. Regular updates include security patches. To achieve this, use the apt update and apt upgrade commands. These commands will download and install the latest updates for your Raspberry Pi's operating system and all installed software. This will help protect your device against known security vulnerabilities.
The goal is to set up SSH on your Raspberry Pi, allowing you to access it from other computers or devices. Here is a detailed checklist to help you get started with your Raspberry Pi.
| Item | Description |
|---|---|
| Raspberry Pi | Ensure you have a Raspberry Pi board. |
| SD Card | Insert an SD card with a properly installed operating system into your Raspberry Pi. |
| Network Connection | Connect your Raspberry Pi to a network either by Ethernet or Wi-Fi. |
| Power Supply | Connect your Raspberry Pi to a power supply. |
| Enable SSH (if not already done) | Using raspi-config:
|
| Find the Raspberry Pi's IP Address | Use the `ifconfig` command or check your router. |
| Connecting From Another Computer | Open a terminal or use an SSH client like PuTTY. Type `ssh pi@`, replacing `` with your Raspberry Pi's IP address. |
| Security | Change the default password. Consider using SSH keys for added security. |
| Port Forwarding | If connecting from the internet, set up port forwarding on your router. Forward port 22 (SSH) to your Raspberry Pi's IP address. |
| Dynamic DNS (DDNS) | Set up a DDNS service to handle dynamic IP addresses. |
Detail Author:
- Name : Nola Weber
- Email : kassandra.hammes@conn.net
- Birthdate : 2005-08-11
- Address : 7591 Legros Spur Hershelburgh, IA 54619-7153
- Phone : (805) 519-8718
- Company : Hodkiewicz PLC
- Job : Statistical Assistant
- Bio : Nihil est neque sunt et ea. Libero aut vel est soluta nemo.
